How to make your own cat toys
Are you on the hunt for affordable and eco-conscious ways to entertain your cherished cat companion? Look no further! In this guide, we’ll explore how you can effortlessly make homemade DIY cat toys from the comfort of your own home.
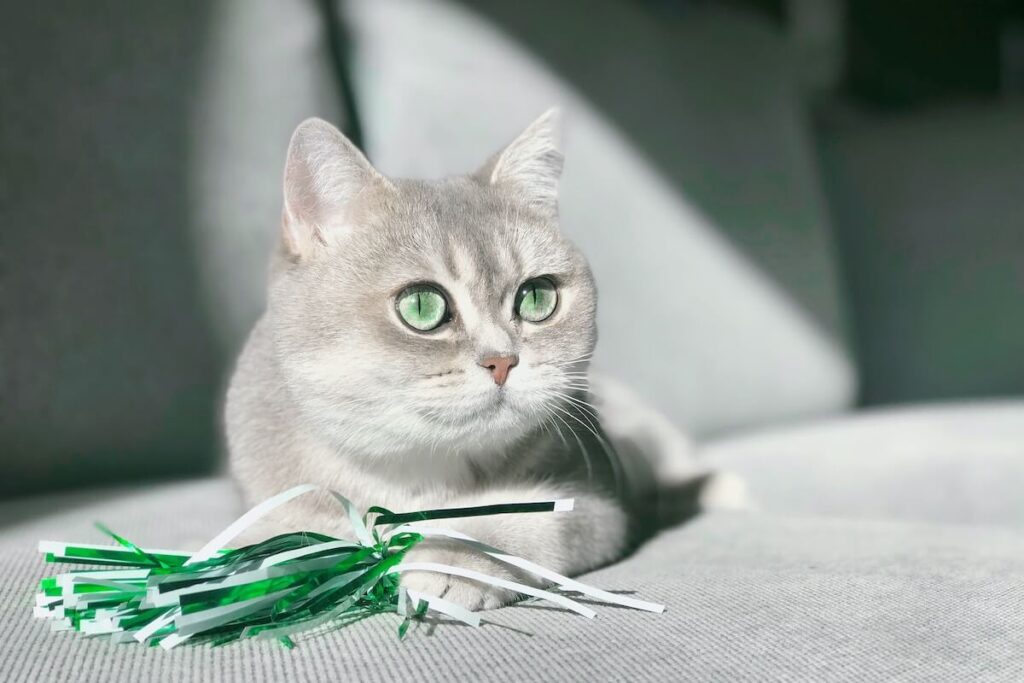
DIY Feather Toy
Here’s what you’ll need to get started with:
- Wine corks
- Feathers and ribbons
- Screwdriver
- Hot Glue
Instructions:
- Step 1: Use the screwdriver to create a hole in the middle of the wine corks.
- Step 2: Add hot glue into the hole of corks before adding the feathers and ribbons.
- Step 3: Allow the toy to fully dry for a few minutes before giving it to your kitten!
DIY Scratching Post
You will need the following items:
- 4×4 fence post cap
- Twine
- Rope
- Drill
- Hot glue/ Adhesive
- Non – toxic/ Pet – safe fabric dye
- 18 inch plywood circle
- Wooden post
- Poms – poms, balls or refillable catnip toys (optional)
Simple instructions:
- Prepare the base of the scratching post with the plywood circle, attach the wooden post to the base with a drill.
- Apply the toxic free paint to the base of the scratching post.
- Wrap the rope tightly to the scratching post, starting from the base, secure the top and bottom of the rope with nails. Leave an inch of space at the top to apply the cap.
- Add in the poms – poms and other cat toys to the top of the post with a length of twine and adhesive.
- Secure the cap to the top of the scratching post either with the adhesive or according to the manufacturer’s instructions.
DIY Cat Tent
What you will need for this simple cat toy:
- Medium sized T – shirt
- 15 x 15 inch piece of cardboard
- Two wire hangers
- Tape
- Safety pins
- Pliers
Follow these instructions:
- Cut the hangers using the pliers.
- Shape the hangers into a semi – circle.
- Poke a hole half an inch away from all four corners of the cardboard.
- Cross both hangers in the middle and tape the tops together, push the ends of the hangers into the holes created earlier.
- Bend the ends of the hangers down flat against the cardboard and tape it to prevent the tips from jutting out.
- Pull the shirt over the tent frame, assure that the neck hole is in the front middle and the bottom of the shirt is trailing behind the tent’s frame.
- Fold the excess at the bottom of the shirt and tighten it to make the shirt taut.
- Secure the folded parts with safety pins, double check on the tents security before giving it to your cat.
DIY Felt Mouse Cat Toy
You will need:
- Detail scissors
- Stuffing tool or chopstick
- Sewing pins
- Embroidery needles
- Hot glue gun
- Printed template
- Catnip
- Fabric
- Twine
Easy instructions:
- Cut pieces of the mouse according to the template
- Attach two pieces of fabric and stitch both sides, leave a small opening for the catnip and the stuffing.
- Add in the dried catnip first before including the stuffing.
- Using a string of twine, double up and tie both ends together to make a mouse tail and insert the base of it into the opening.
- Glue the opening shut with a hot glue gun.
- Use scissors to make two ears for the mouse, pinch the base of cut fabric to create the ear shape.
- Glue the ears to the body; sew to reinforce.
- Stitch the nose into the face using some light pink thread, stitch two knots for the eyes.
DIY Knotted T-Shirt Cat Toy (using old t-shirts)
A few things you’ll need:
- 2 or 3 old t-shirts
- Fabric Scissors (regular ones would do too!)
- Ruler
- Cutting mat (optional)
Follow these 5 steps:
- Cut the shirts apart by the seams then cut into 3 x 10 rectangles.
- Cut the shirts into 6 strips.
- Slightly stretch each strip so that it rolls up onto itself.
- Take two to three strips and tie into a knot, secure the knot by pulling onto the ends tightly.
- Trim the ends for a neater look!
We hope this was useful
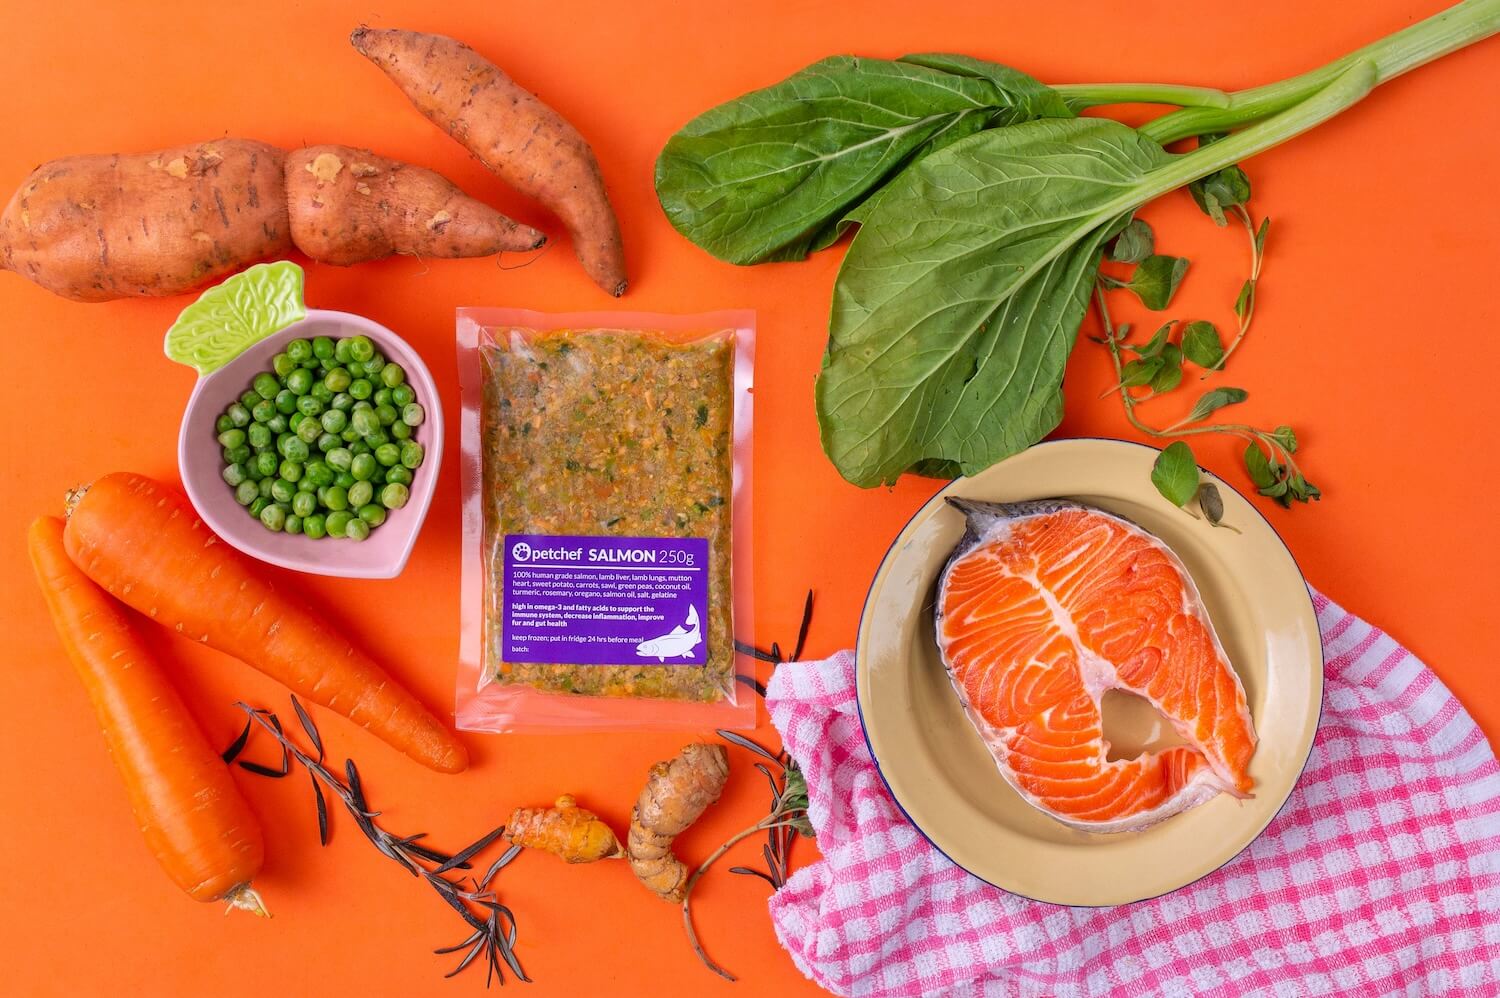
Petchef is a small team of pet lovers who also happen to love nature and all things DIY. That’s how Petchef started, and turned into a company producing healthy cat food with nothing but natural incredients based on international research.
Visit our Recipes for cats page to take a look at what’s on the menu!
If you want to improve your cat’s fur shine, energy and overall health level, try feeding them Petchef for a month and you’ll be pleasantly surprised by the results.